The ‘piece to camera’ or PTC

We’re all familiar with the piece to camera as a technique used in news broadcasts, but in the context of low-budget learning videos, we’re more likely to use this approach to record a response to a question. The following tips will help you to do an effective job:
- Explain to the subject what you are going to do and what question you would like them to answer.
- Make a note of the subject’s name and check the spelling with them before you leave.
- Find an interesting setting, ideally one which will reflect the context of the topic.
- Position the camera at the subject’s eye level, ideally on a tripod. Whatever you do, do not look down on the subject.
- Frame the shot so you don’t leave lots of space above the subject’s head as this will make them look short.
- Ask the subject to look directly into the lens.
- Don’t rehearse if you want the subject’s response to sound really natural.
- If you’re feeling adventurous, add some movement by using an occasional slow zoom in and out.
The interview
The interview is one of the principle video formats and one that has real value for learning. In the ideal world you would shoot an interview with two cameras – one for the interviewer and one for the interviewee – and then choose the shots you would like to go with during the edit. However, this series is about what you can do with very little equipment and very little experience, so let’s see what you can do with a single camera.

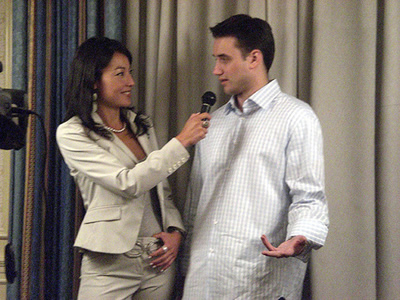
If you want to keep it simple, frame your shot to include both the interviewer and interviewee (see above). If at all possible you should use an external mic, which the interviewer can hold.
It’s also possible to simulate a two-camera shoot and this will certainly provide you with a more interesting end result, particularly if the interview is extended. You’ll need to set up at a number of different angles:
- A shot which shows both the interviewer and interviewee (a ‘two-shot’), to establish the scene and prove that this interview really did happen with both parties present at the same time! Sometimes this is shot over the interviewer’s shoulder (an ‘OTS’).
- Close-ups of the interviewee listening to the questions (which are being spoken off camera) and then giving their answers.
- Reverse shots of the interviewer listening intently to the responses (usually called ‘noddies’). These can be useful in covering up any cuts you want to make in the interviewee’s answers.
- Reverse shots of the interviewer asking the questions. Be clear that, because you have only one camera and mic, these are recorded separately from the interviewee’s answers – you can safely ditch the original questions to which the interviewee responded.

The presentation
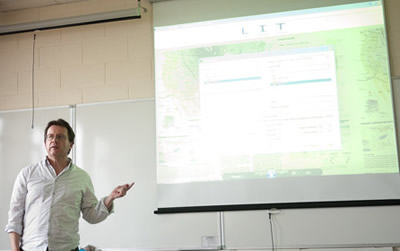
A video recording of a lecture or presentation is an invaluable way to extend the reach beyond the initial face-to-face audience. Your simplest option is to record the presenter and any slides in one mid-shot. The camera will need to be on a tripod for stability. If the presenter is using a mic then your best best is to take a feed from this directly. If not, you’ll need to provide your own, ideally a radio mic that the presenter can attach to their shirt. Don’t rely on the mic built into your camera as you’ll be too far away from the presenter to get a clear signal.

If you don’t mind doing a little editing later, then you could mix up the shots …

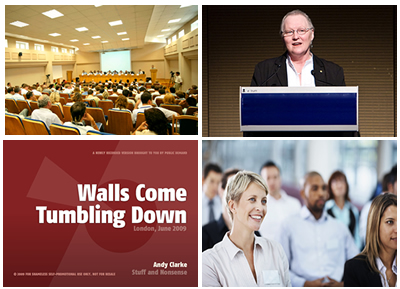
A wide ‘establishing’ shot of the meeting room will set the scene. Then cut between a close up of the presenter and his or her slides. Don’t shoot the slides at the time – get a copy of the presentation, save each slide off as an image and then import these directly into the edit. You might also like to get some cut-aways of the audience to provide more visual interest.
Coming up in the thrilling final instalment: post-production
